Start here. What Kampi actually does, what to prepare before your first login, how to connect your Facebook page and Instagram, and what the first week looks like. Five minutes of reading that save a lot of questions later.
We didn't find an answer for that search. Try another word, or ask the bot below.
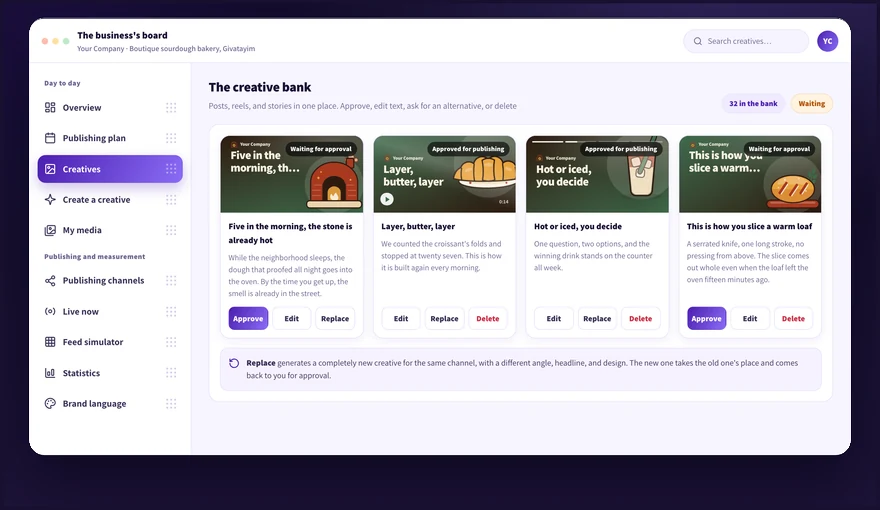
Kampi is a single board that manages your business's publishing on Facebook and Instagram, from the plan to the post that goes live. In one place you get a content plan, a creative bank, a media library, and a screen that shows what is live on your channels right now. There are four formats: Instagram post, reel, story, and Facebook post.
1
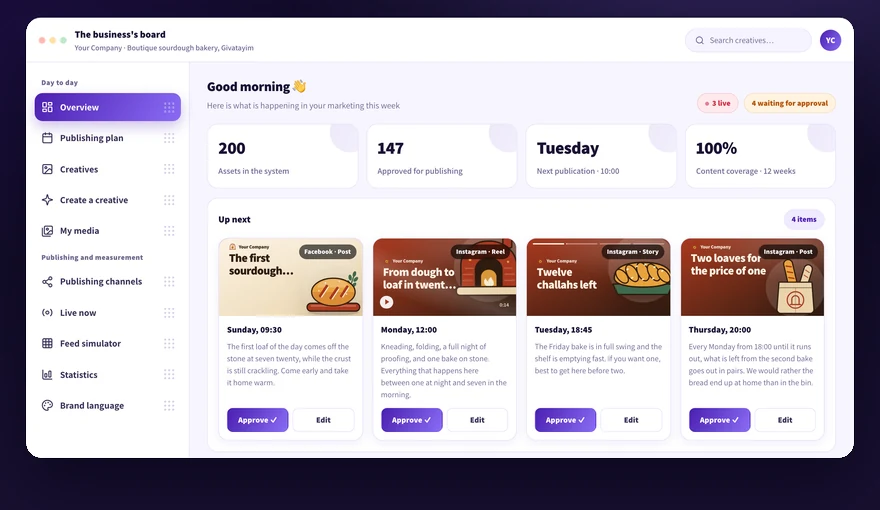
Sign in to the board and start at the Overview screen, which gathers the snapshot and the items waiting for approval.
2
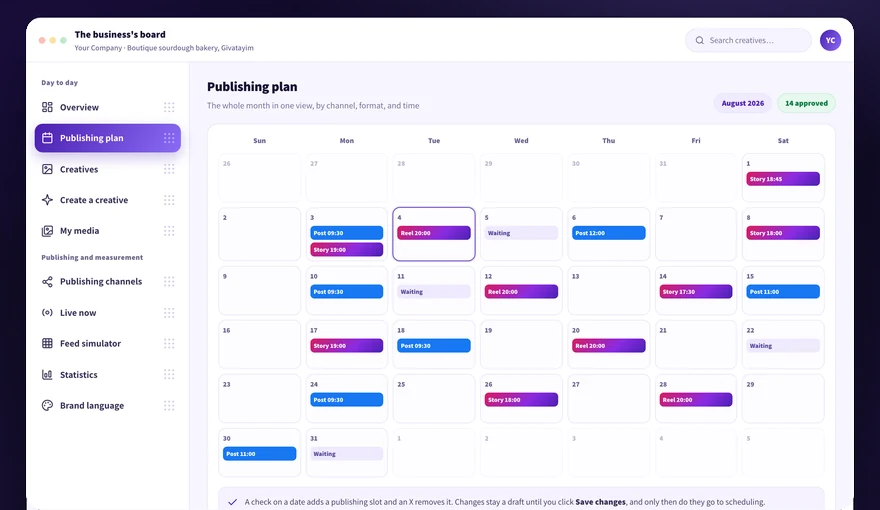
Go to the Content plan and see the publishing dates. Each date lays out all four formats: Instagram post, reel, story, and Facebook post.
3
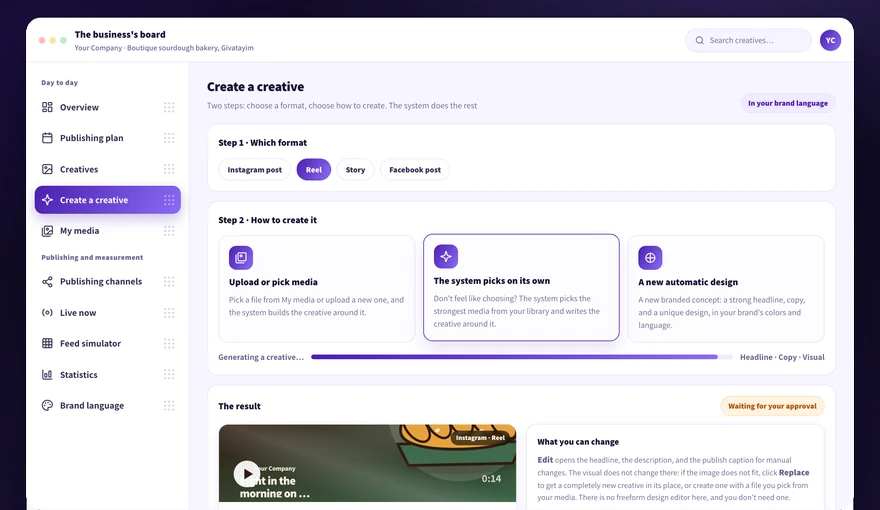
Create a creative in two steps: first choose the item type, then the creation method. You get text in Hebrew and a visual, and for a reel also a video.
4
Review the item, request an alternative or edit the text and image, and approve. Nothing goes out without your approval.
5
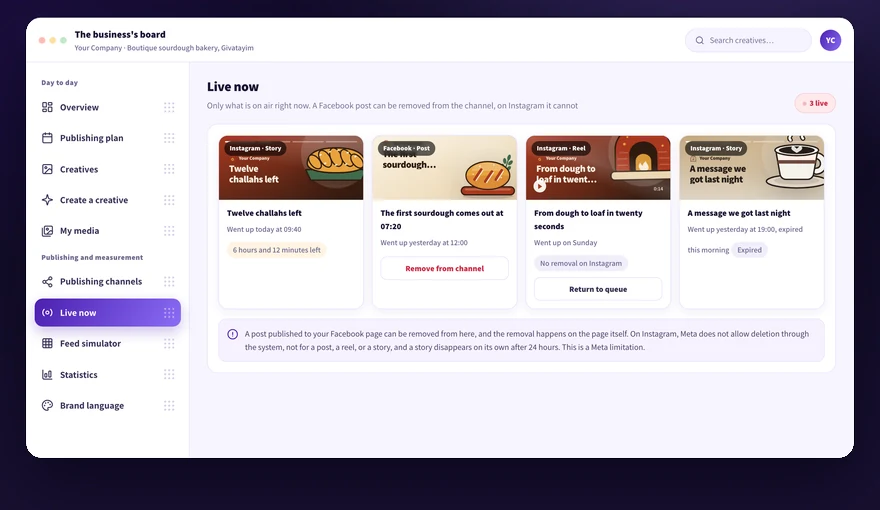
Check the Live now screen to see what is on air, including the countdown clock on stories.
Kampi works with Facebook and Instagram only, and other networks are not supported. Paid campaign management is included in the Pro and Extra plans, and the media budget is paid by you directly to Meta.
You need a Facebook page for the business, a professional Instagram account linked to that page, and admin permission on both. It also helps to come with a logo, brand colors, and real photos and videos from the business.
1
Make sure the business has a Facebook page and that you are set as an admin on it.
2
Switch the Instagram account to a professional account and link it to the Facebook page. Without this link you cannot publish to Instagram.
3
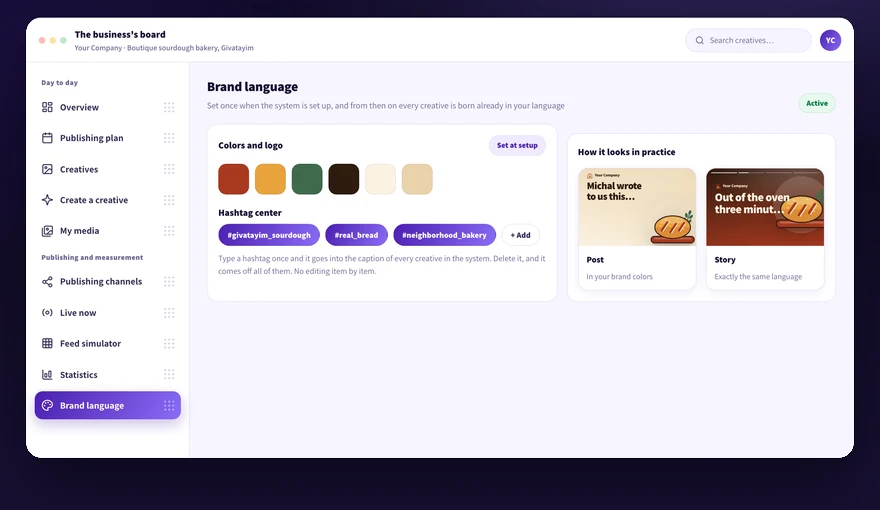
Send us a clean logo file, your brand colors, and one sentence that explains how the business talks. We embed them in your system's Brand kit.
4
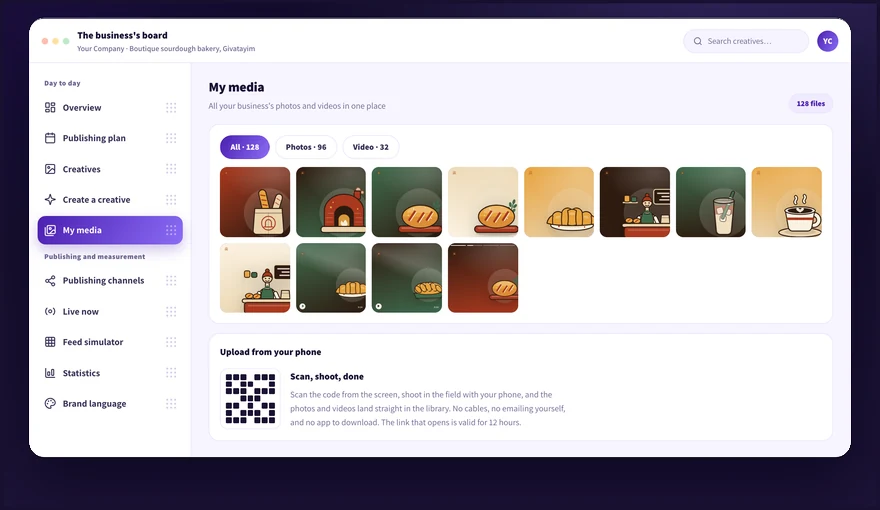
Gather real photos and videos of the business to upload to the Media library. A video or two matters especially, because a reel is built around video.
Organic content does not require an ad account. Paid campaign management is included in the Pro and Extra plans, and then an ad account is activated and the media budget is paid by you directly to Meta.
Open the board address with the details sent to you by email, and you land on the Overview screen, the fixed starting point. All the other screens are in the side menu.
1
Open the board address in a browser, on a computer or on a phone.
2
Sign in with the details you received by email after signing up.
3
Land on the Overview screen and go over the snapshot and the Up next list.
4
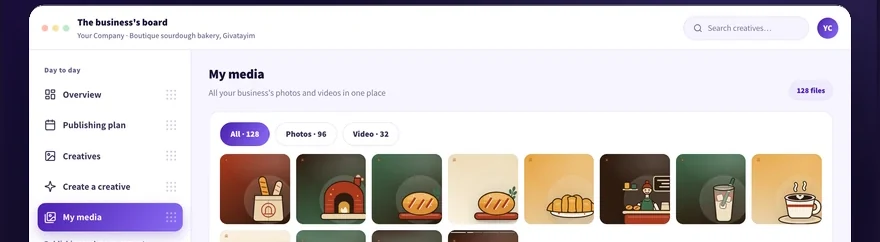
Move through the side menu between the screens: Content plan, Creative bank, Create creative, Media library, Publishing channels, and Live now.
5
Save the address to your bookmarks or add it to your phone's home screen for quick access.
If the email with your login details did not arrive, check the spam folder and then call us at 054-5082696.
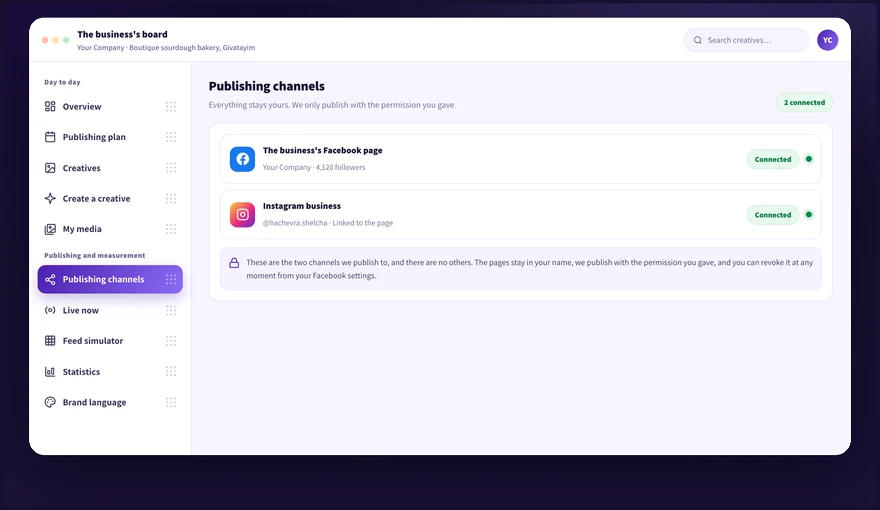
The connection is made from the Publishing channels screen, with admin permission on the page. A green dot next to a channel means the connection is live, and a red dot means it is not connected. This is the short version; the detailed explanation of each connection is in the Publishing channels category.
1
Open the Publishing channels screen and check the color of the dot next to each channel.
2
Connect the Facebook page with admin permission, and then the professional Instagram account linked to that page.
3
Make sure all the dots are green before scheduling the first publication.
The full explanation of each connection is in the Publishing channels category, in the articles How to connect your business Facebook page and How to connect a business Instagram account. You can disconnect at any moment from your business settings on Facebook, without going through us, and the pages and accounts remain yours.
Creating a creative takes two steps: first choose the item type out of four, then the creation method out of three. You get text in Hebrew and a visual in the chosen format, and for a reel also a video.
1
Open Create creative and choose the item type: Instagram post, reel, story, or Facebook post.
2
Choose a creation method: upload or pick media from the library, let the system choose, or an automatic new design.
3
Upload media in advance on the Media library screen, from your computer or by scanning a QR code and shooting from your phone, so the system has real material to work with.
4
Review the text and the visual, request an alternative if the result is off, and approve so the creative is saved in the bank and enters the queue.
The full explanation of the four formats, the three creation methods, and requesting an alternative is in the Creating creatives category.
The first week is about building the foundation: a media library, channel connections, setting the frequency, and a content plan for months ahead. From there the day to day work is mostly approving items waiting in the queue.
1
Make sure the Brand kit we set up for you is right: the logo, the colors, and the tone every creative is born from.
2
Upload real photos and videos of the business to the Media library, so creatives do not rely on generic media.
3
Connect the channels and make sure all the dots are green.
4
Set the frequency: which days of the week to publish, how many days apart, at what time, and whether to skip holidays and holiday eves.
5
Open the Overview screen every day and approve the items waiting in Up next.
6
Check the Live now screen to see what is on air right now.
A Facebook post can be removed from the channel. Instagram content, whether a post, a reel, or a story, cannot be deleted through Meta's developer interface, so removal is done from the Instagram app. A story comes down on its own after 24 hours anyway.
Payment is per period in advance, with no automatic card renewal, and a tax invoice/receipt is sent to your email automatically after every payment. The full breakdown of plans and current prices is in the Account and billing category.
1
Choose a plan, Basic, Pro, or Extra, and a period length from one month up to a full year. The full breakdown is in the article How much Kampi costs and which plan fits you.
2
Pay by credit card, get full access to the board, and find in your email the tax invoice/receipt sent automatically to the address you entered.
3
Renew manually at the end of the period. There is no automatic renewal and the card is not charged on its own.
Prices and renewal terms are documented in the articles How much Kampi costs and which plan fits you and Does the subscription renew automatically and how to extend, in the Account and billing category. If you do not renew, access to the board stops at the end of the period.
Didn't find it? Ask us
The bot knows the whole help center. If it doesn't know, it hands you over to us with a summary of what you already tried.